


Your sonic toothbrush is an investment in your oral health, but are you giving it the respect it deserves? Without frequent cleaning, even the most advanced toothbrushes can fall victim to becoming bacterial breeding grounds and losing their effectiveness.
Cleaning your Sonic toothbrush is not only about hygiene. In fact, it's a matter of keeping it running at peak effectiveness and ensuring it lasts as long as possible.
In this article, we will guide you through the process of cleaning your sonic toothbrush in five easy steps that you can easily do. So, let's go through the simple but important process of keeping your electric sonic toothbrush clean and as effective as ever.

Why You Should Clean Your Sonic Toothbrush?
Cleaning your sonic toothbrush daily might be a small chore, but its effects can be enormous to your well-being. If you don't clean it, your toothbrush can accumulate bacteria, mould, and toothpaste residue that not only makes it less efficient but also jeopardizes your oral well-being. Since sonic toothbrushes operate at high frequencies, they tend to accumulate more buildup than manual toothbrushes, especially in the crevices and corners of the brush head.
Aside from hygiene, a sanitized toothbrush maintains its peak working condition with high-speed motion to effectively remove plaque. It also prolongs the life of your toothbrush, so you won't have to replace it as frequently. Whether you are fighting sensitive gums or plaque or just looking for a healthier mouth, a sanitized sonic toothbrush is what you need to achieve the best oral care.
Here are the five easy steps you can use to clean your sonic toothbrush.
Step 1: Turn off your sonic toothbrush
Always make sure your Sonic toothbrush is turned off before you clean it. Sounds simple, huh? But the last thing that you would ever want is for the toothbrush to switch on unexpectedly while you clean it, which could damage it.
Ensure the power button is pressed tightly, and if your toothbrush has a travel lock, ensure you activate it so that it won't turn on while in the middle of cleaning. Shutting it off not only keeps you safe but also helps in avoiding unnecessary battery consumption when cleaning.
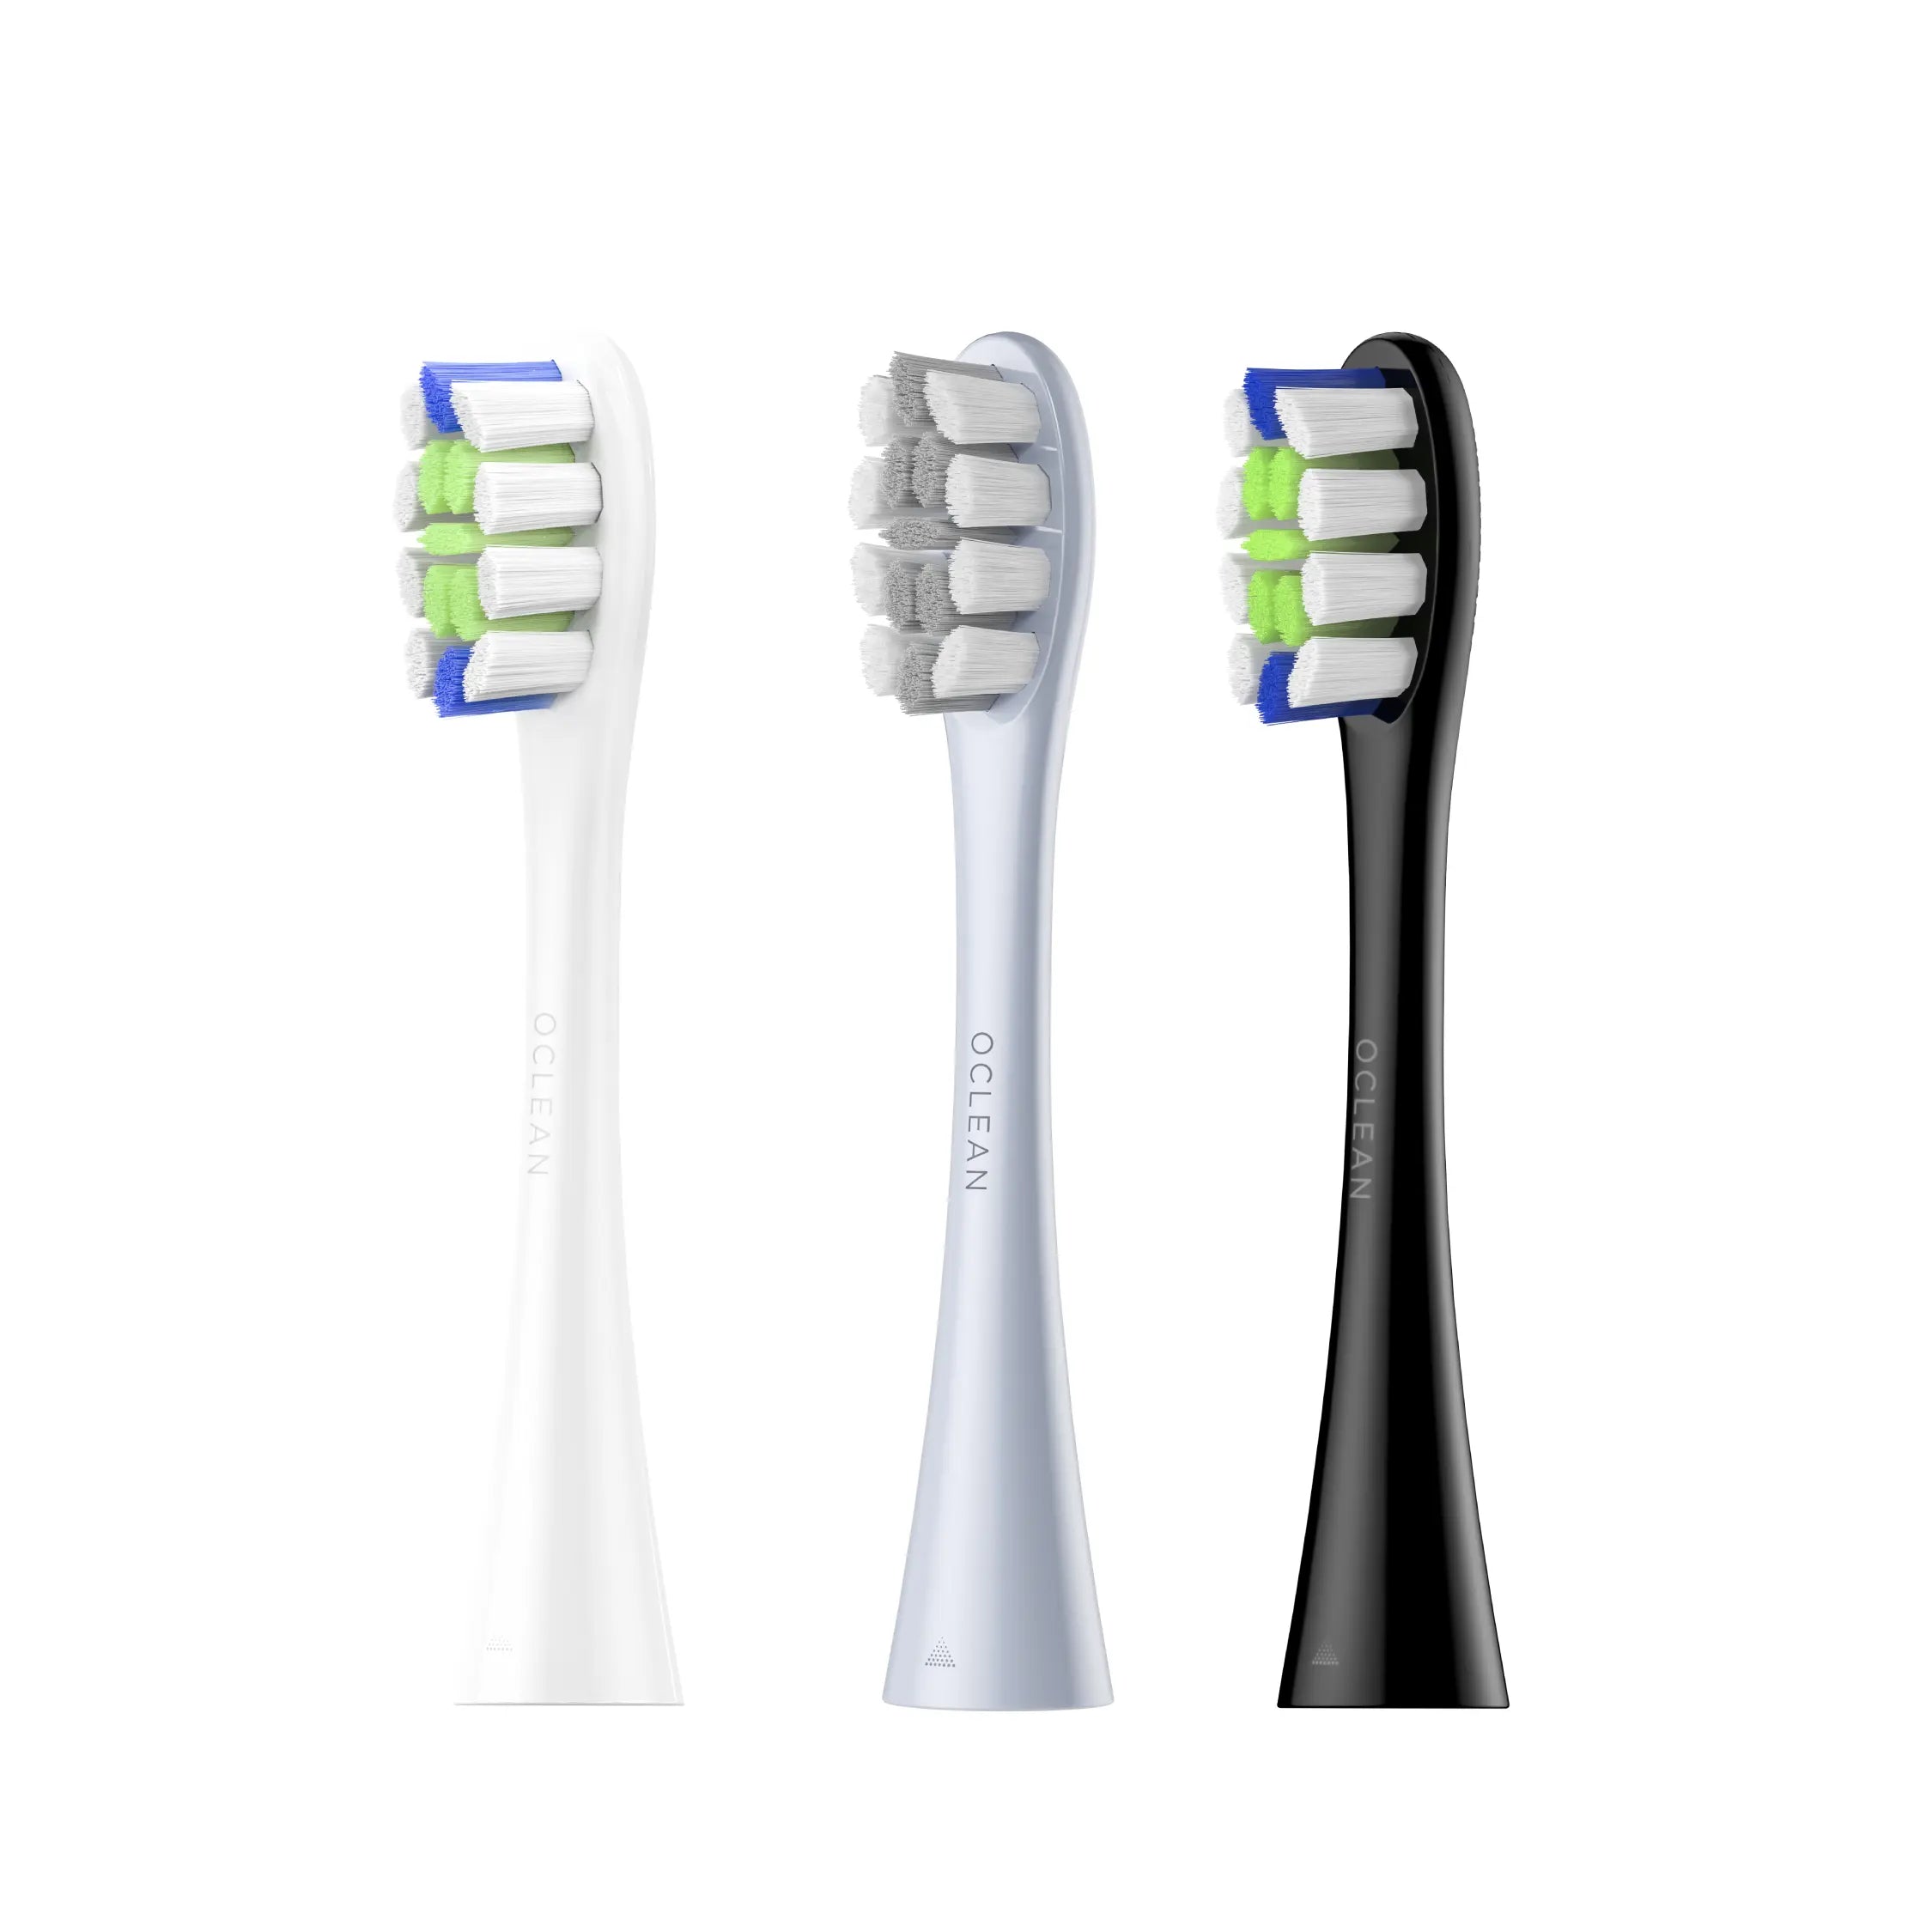
Step 2: Remove the Brush Head
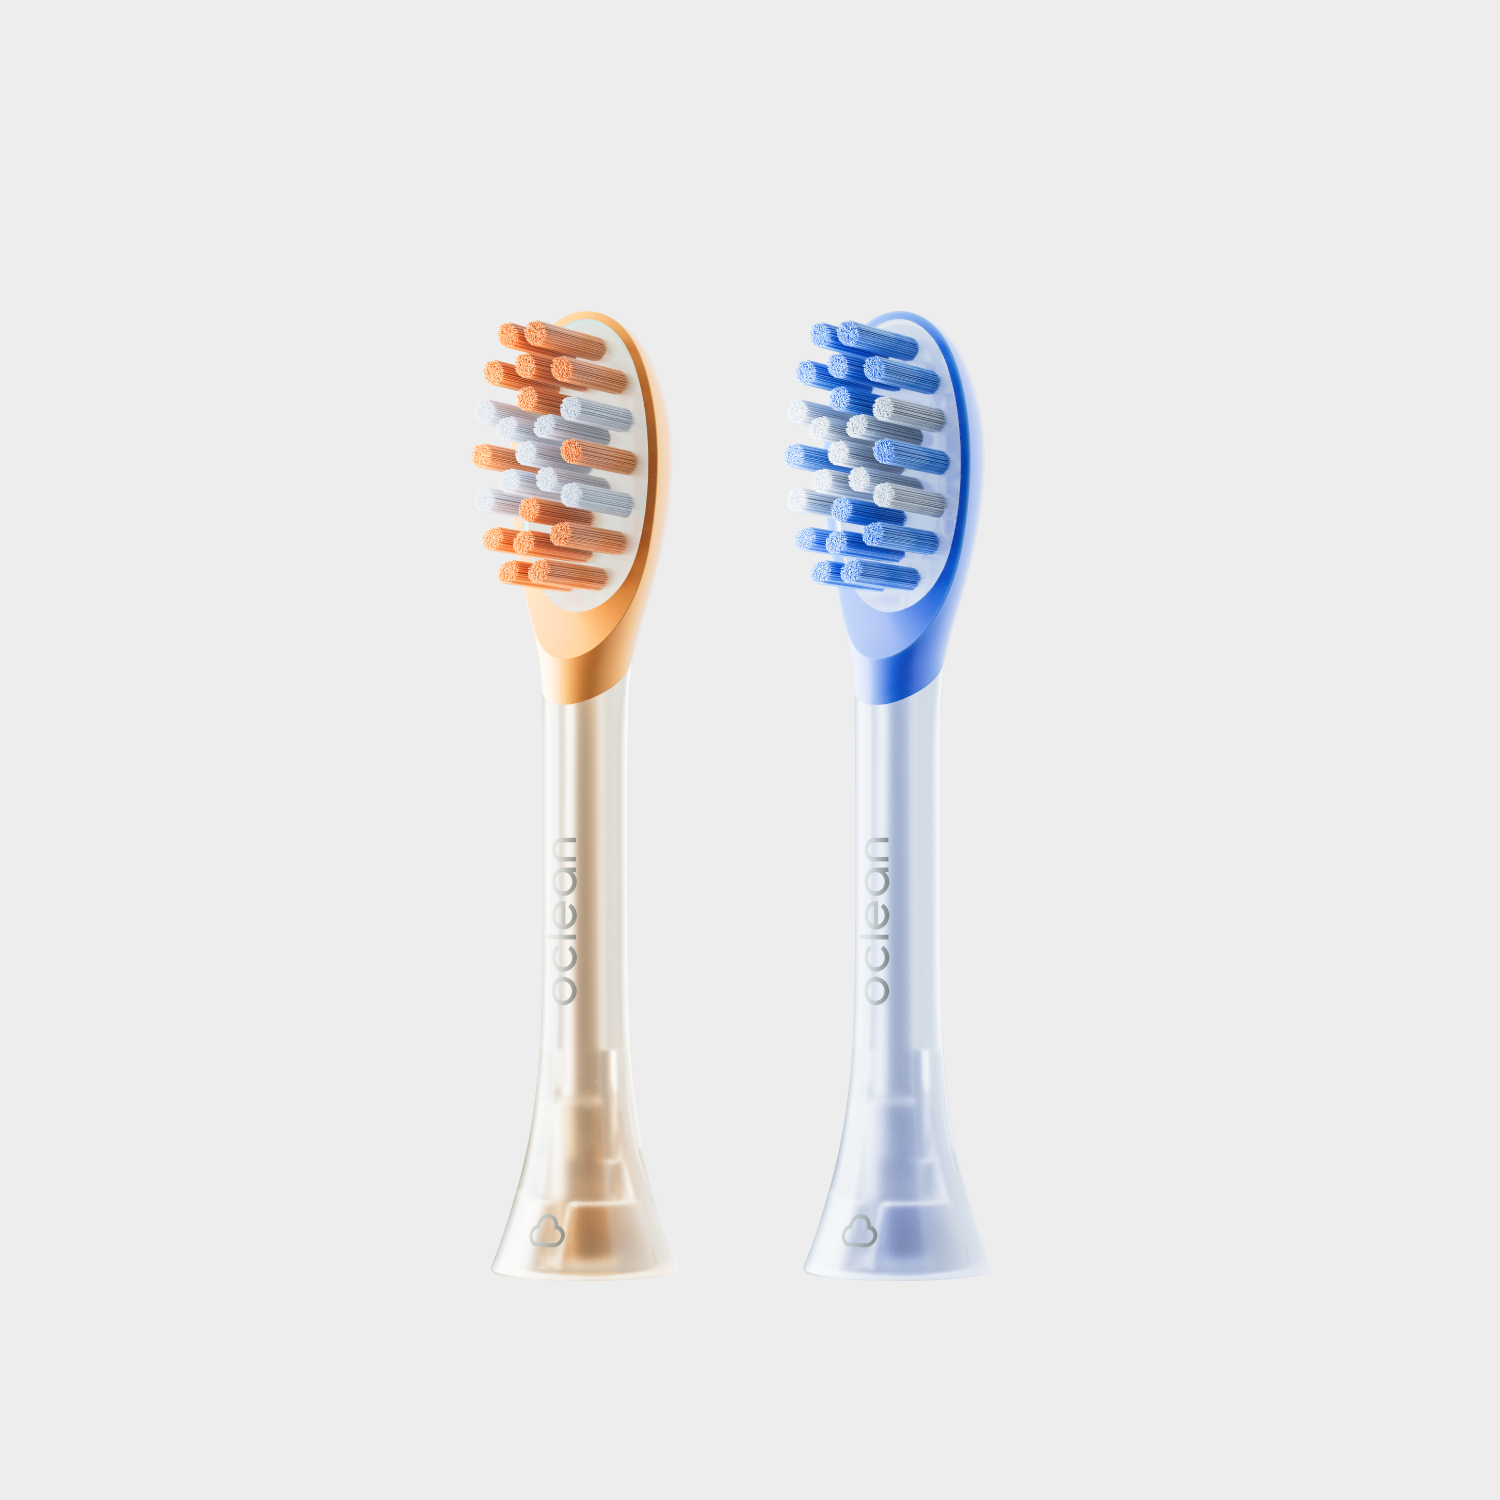
When you switch off your toothbrush, the second thing you should do is pull the brush head off the handle. This is an easy thing to accomplish, yet it is one of the most important things to accomplish when attempting to have your toothbrush as clean as possible. The brush head is where most buildup occurs, especially from toothpaste buildup, food debris, and bacteria.
To remove the head, twist or pull it off, depending on the kind of toothbrush you have. Do this using clean hands and without applying pressure that could break the attachment mechanism. Remove the brush head and rinse it thoroughly under warm running water, clearing the way for a proper cleaning. This also helps the brush head sit securely in place when you reassemble your toothbrush later.

Step 3: Brush Head Cleaning
Your sonic toothbrush head will need to be cleaned regularly and correctly to get rid of any stored-up film or bacteria. Begin by rinsing off warm water to clear out all the toothpaste, debris, and saliva. For more thorough cleaning, you can soak the toothbrush head in a gentle antibacterial mouthwash or vinegar solution for 5-10 minutes. This dissolves any residue that cannot be removed by a good rinse.
After soaking, rub the bristle base delicately with a soft, clean toothbrush so that all the toothpaste and plaque left behind are cleaned off. Take special care at the junction of bristles and base since that's where bacteria and debris will try to accumulate. Avoid using any abrasive material since it may damage the bristles.
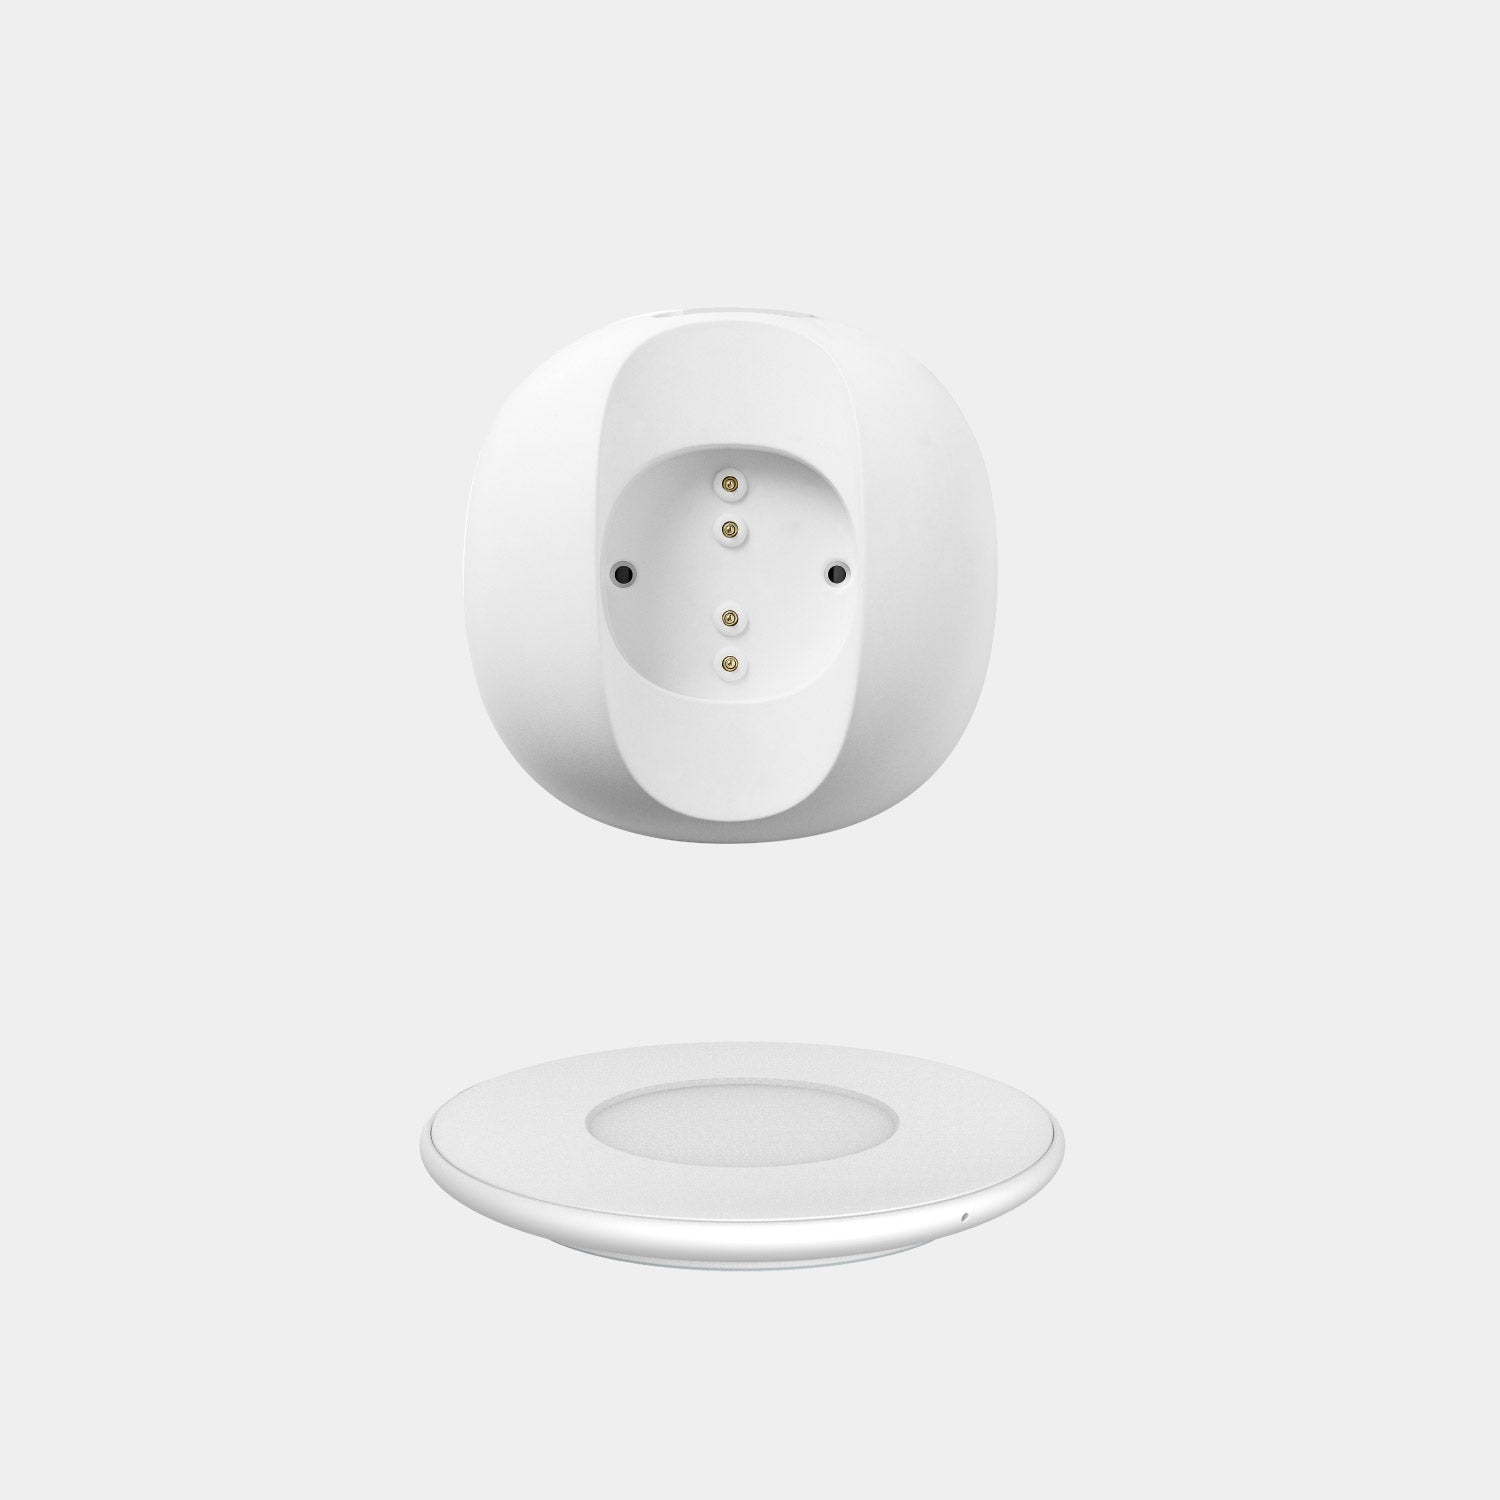
Step 4: Clean the Charging Port and Handle
Although the brush head is the first thing that comes to mind, the handle and charging port need to be cleaned every now and then as well. Begin by cleaning the handle with a damp cloth to eliminate any surface dirt or toothpaste bits. Avoid soaking the handle in water because it contains electronic components that are susceptible to water damage. A wipe should be enough to keep it in good condition.
Next, notice the charging port. This area can accumulate dust, water, or dirt after a while, and that will affect the charging process. Clean around the port area with a soft cloth or cotton swab, which should be dry and material-free. Refrain from inserting any material into the port, as it might damage the connectors.
By keeping these regions clean, you keep your toothbrush functional, effective, clean, and free from excessive buildup. The handle and charging port require cleaning every three weeks or more often if you see a buildup. By keeping your toothbrush like this, you avoid malfunction and improve the overall efficiency of your toothbrush.
Step 5: Dry and Reassemble the Toothbrush
After you have cleaned the brush head and handled diligently, it's already time to dry your toothbrush. Pat the brush head and handle dry carefully with a soft cloth or towel. This is to prevent any lingering water from rust or destroying the electric parts.
After all the water has dried out, you can gently put the head of the brush back onto the handle. Ensure it clicks firmly into position. You can now put the toothbrush away. Ideally, put it into a holder so it can dry completely in the air and not touch other surfaces that collect germs. If you can, put it upright, so air can flow and prevent the accumulation of water, keeping it clean and fresh to reuse.
That's all you need to know about cleaning your sonic toothbrush. If you need help regarding its use, read our guide on "How to use an electric toothbrush."

The Bottom Line
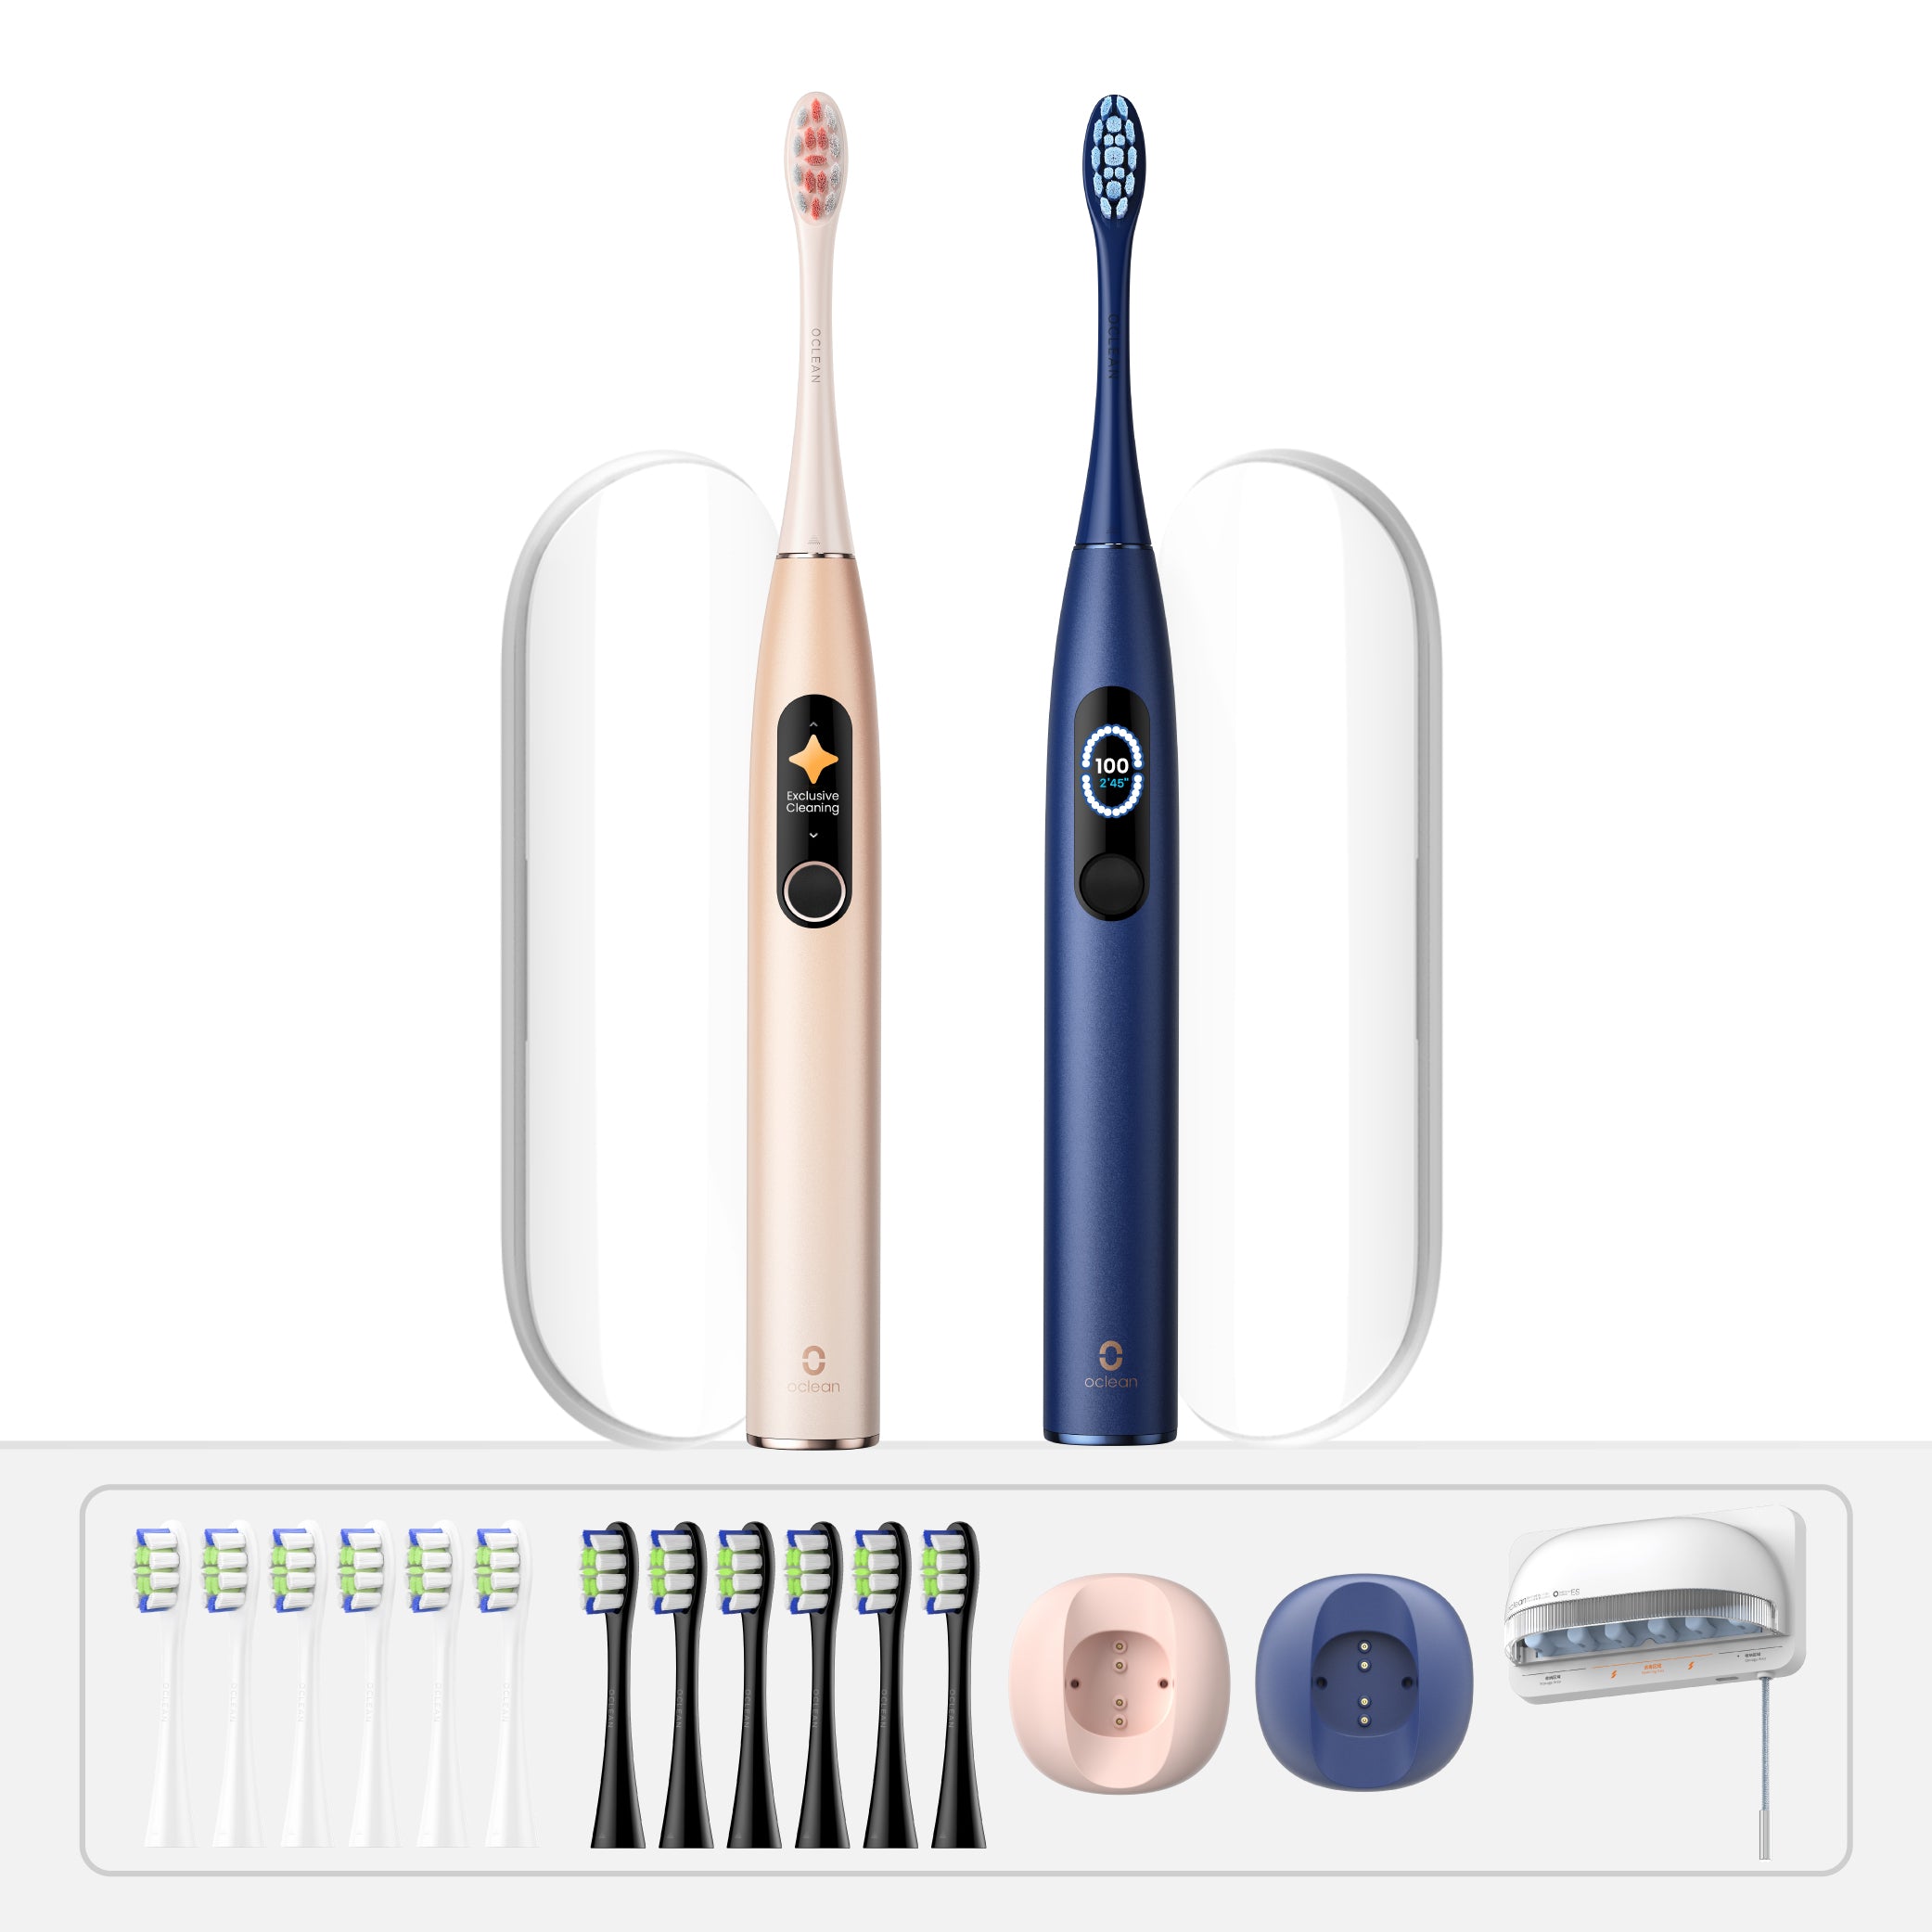
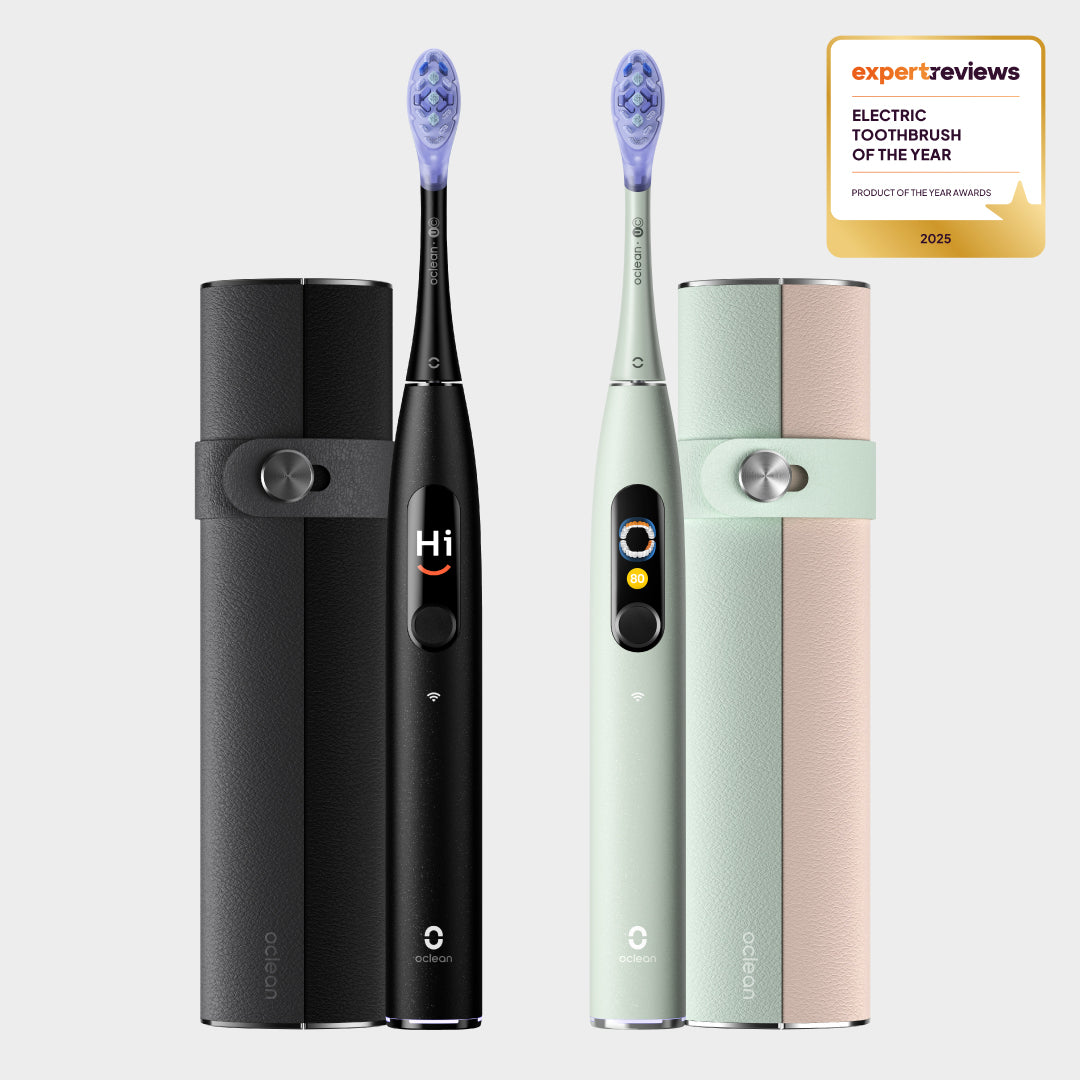
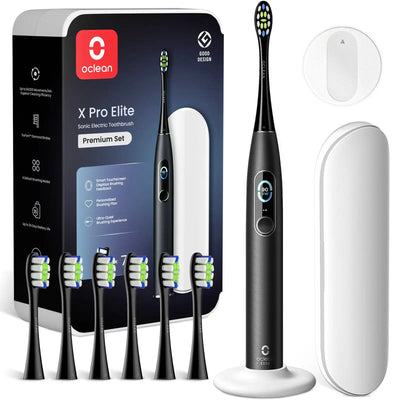
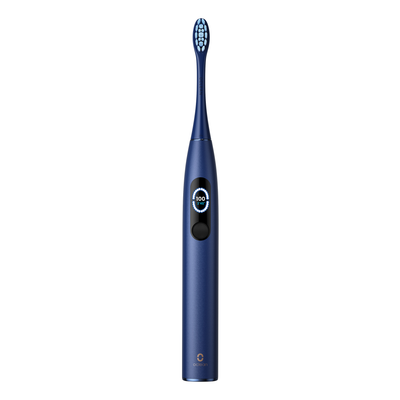
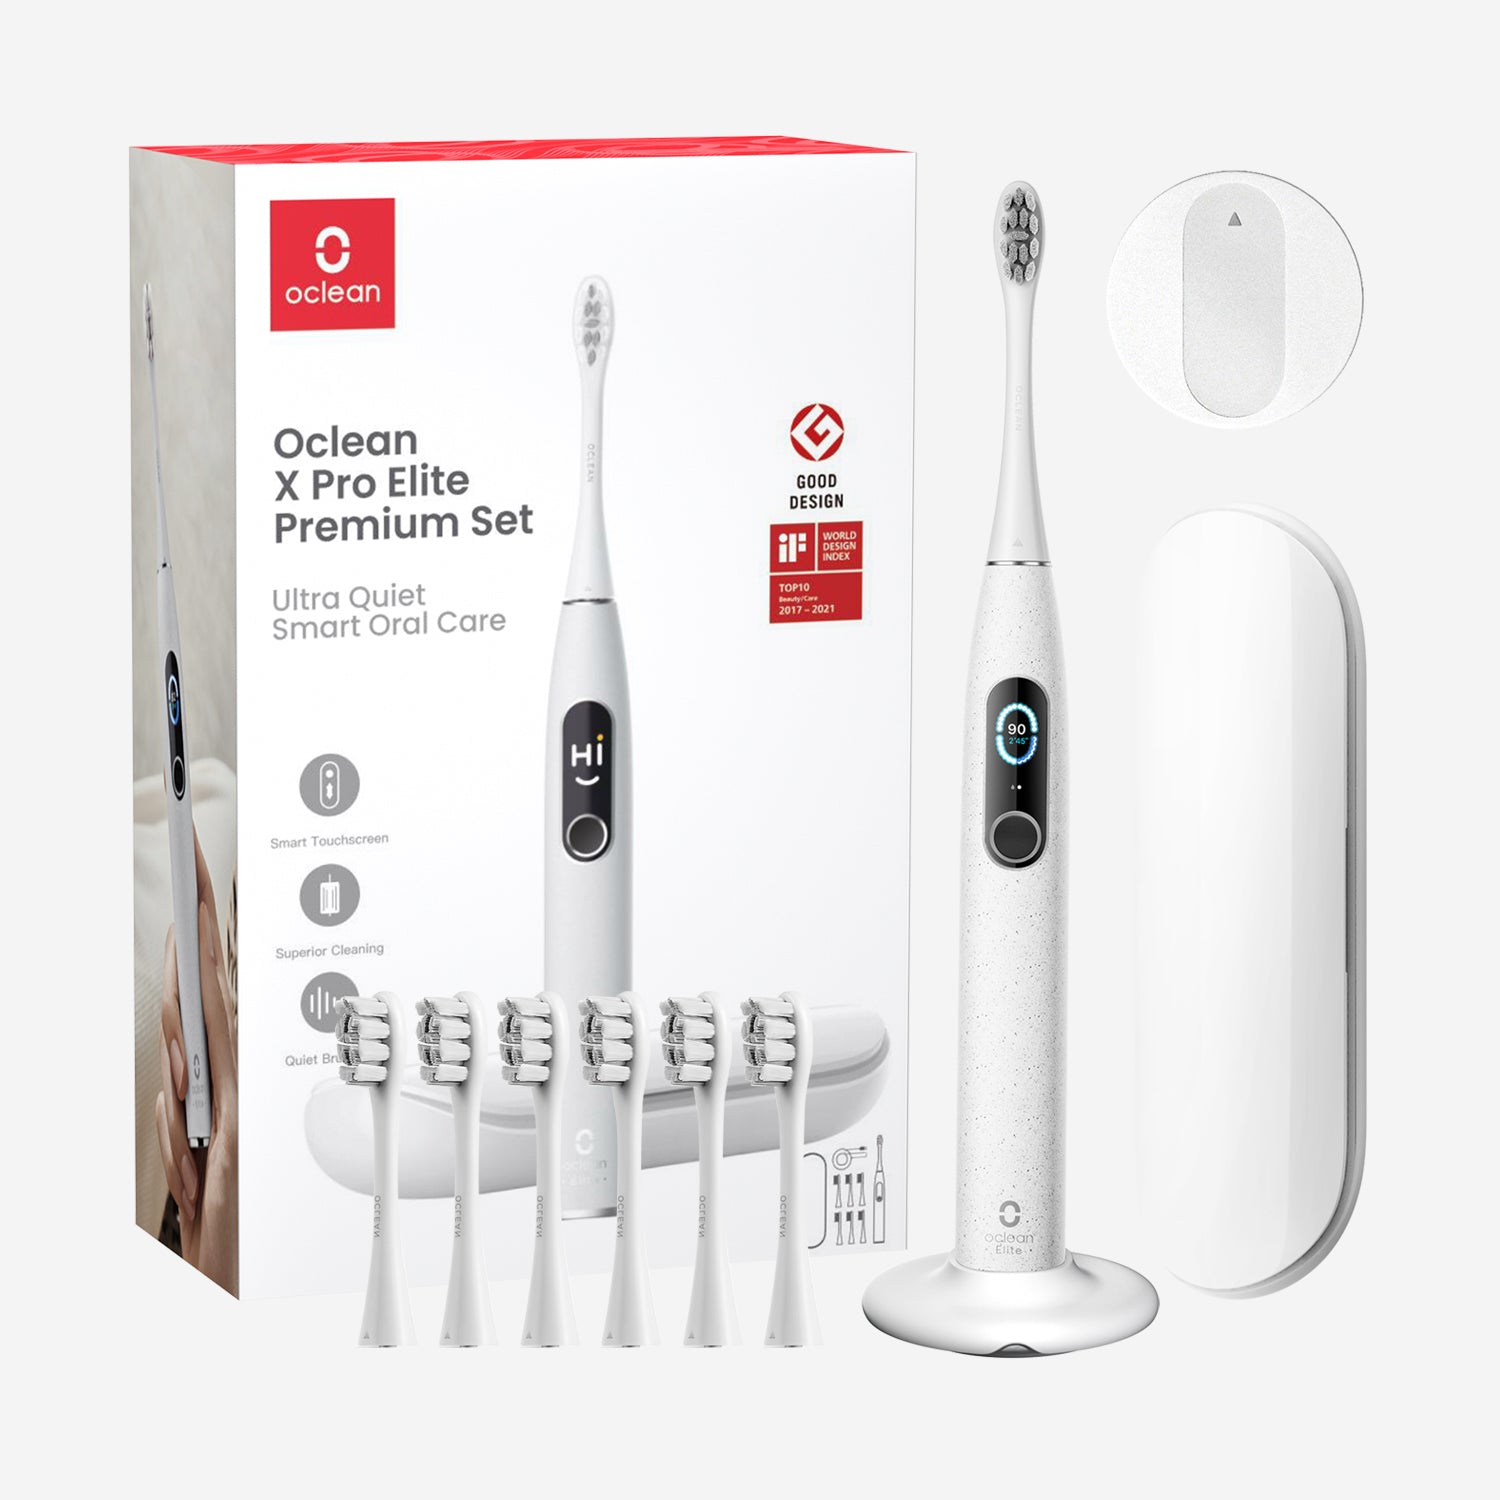
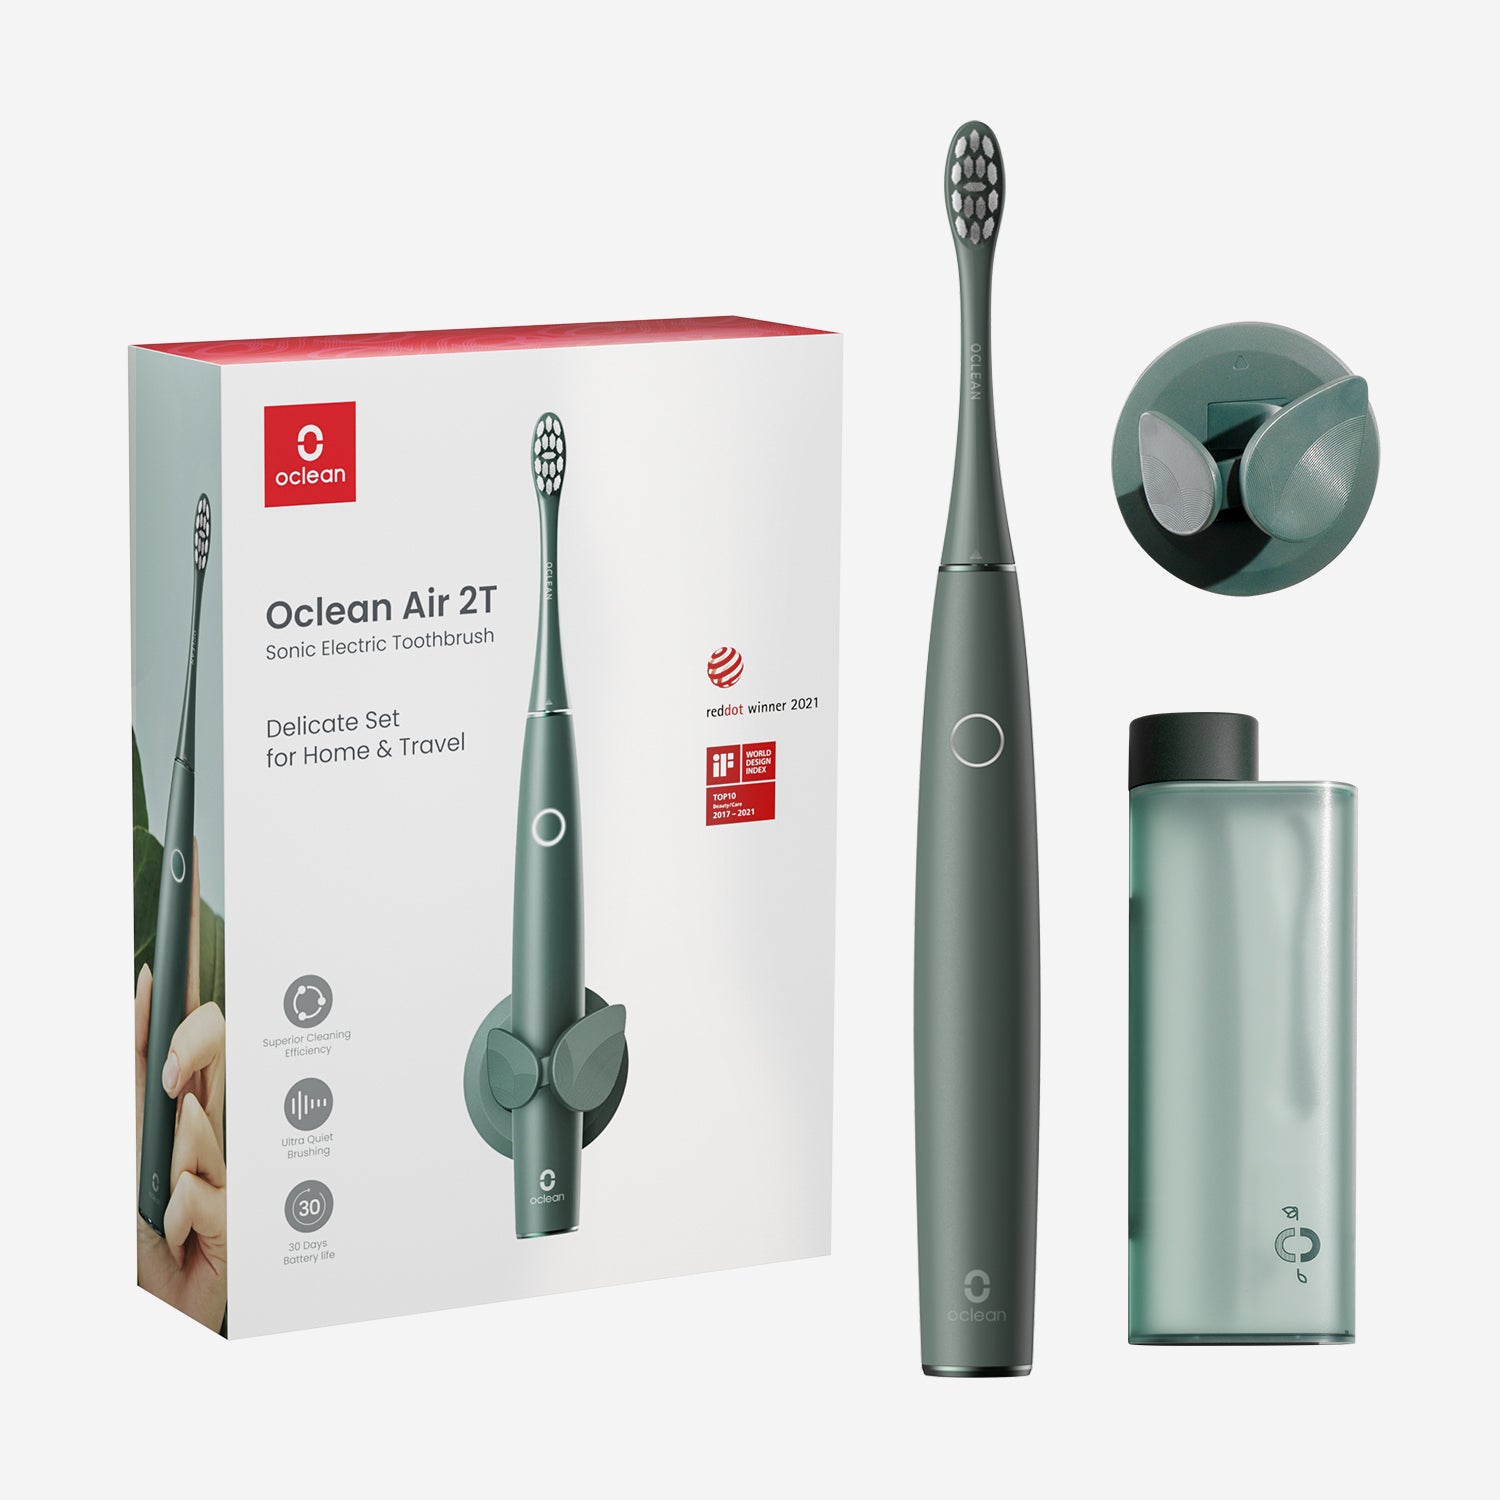
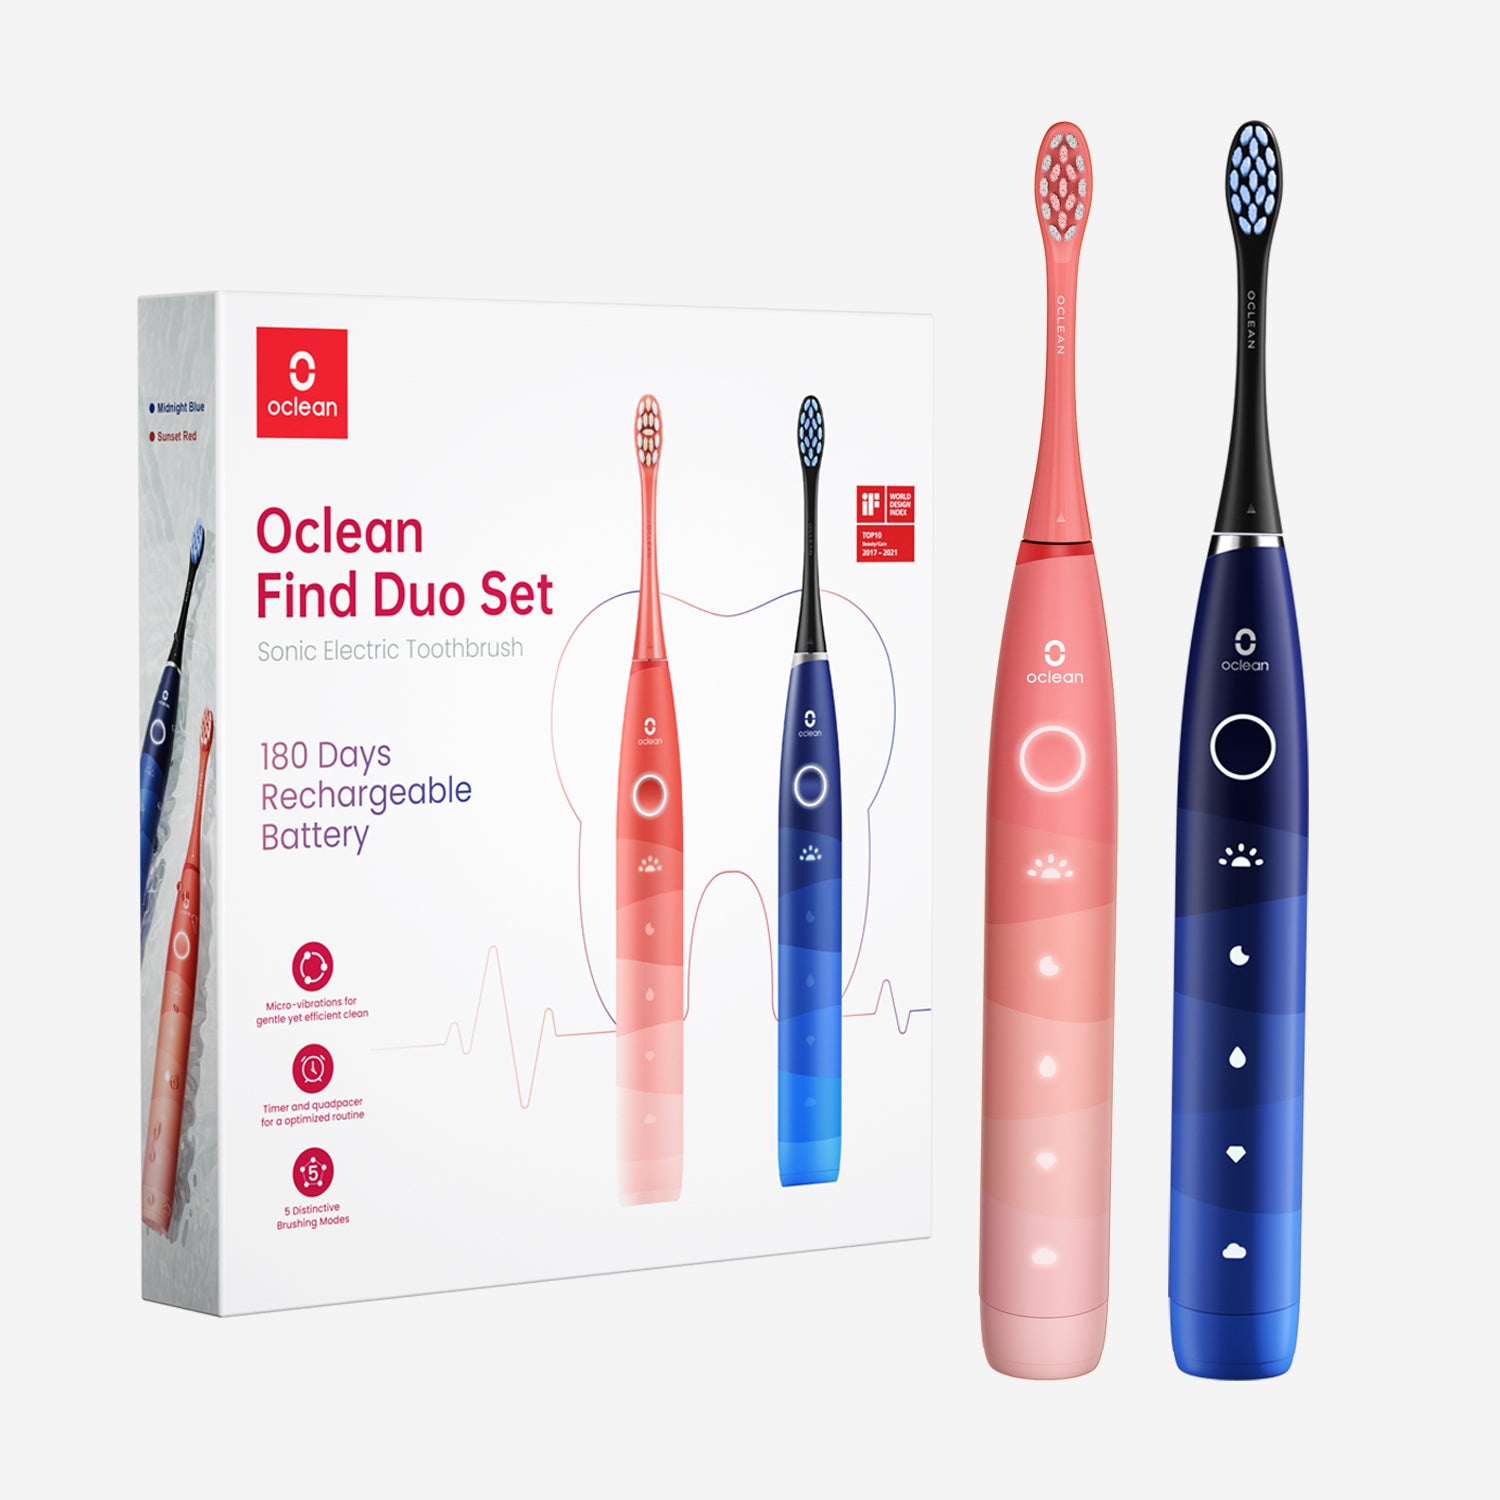
It's not just hygiene that a sonic toothbrush needs to be cleaned. It's for the best oral care. By cleaning the brush head, handle, and charging port again and again, you're maintaining your toothbrush in the best working condition. If you're looking for a toothbrush that is as easy to clean as it is to use, you should go for the Oclean X Pro Elite Sonic Toothbrush for a spin.